
Bind AI Copilot helps developers write, debug, and understand code using AI. It gives you access to numerous LLM models, coding languages, and a built-in code editor for a complete experience. This manual will guide you through using Bind AI Copilot effectively. We’ll show you how to select models, use the code editor, run queries, and preview web pages, along with tips and screenshots.
It also includes examples to help you get started.
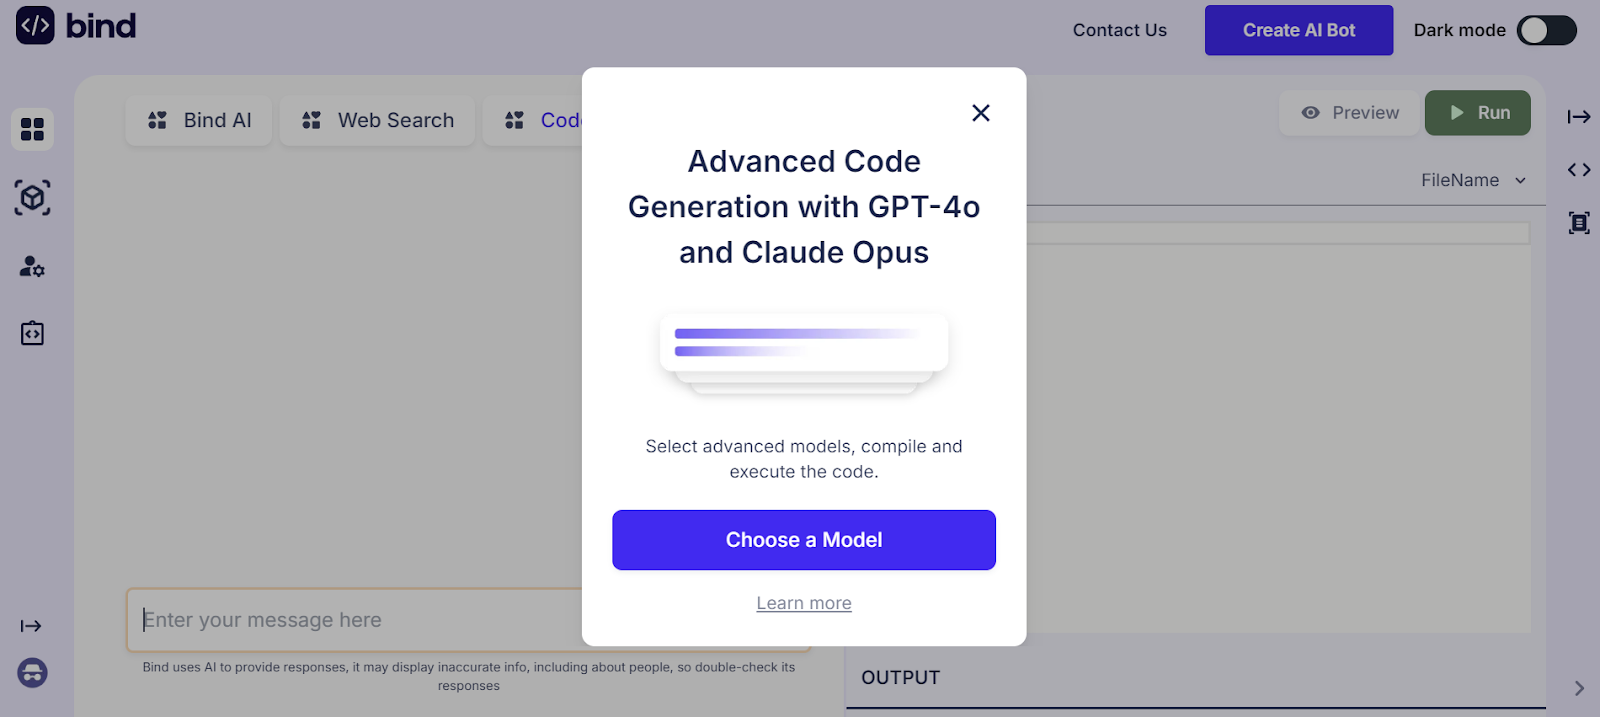
1. Open Code Generator
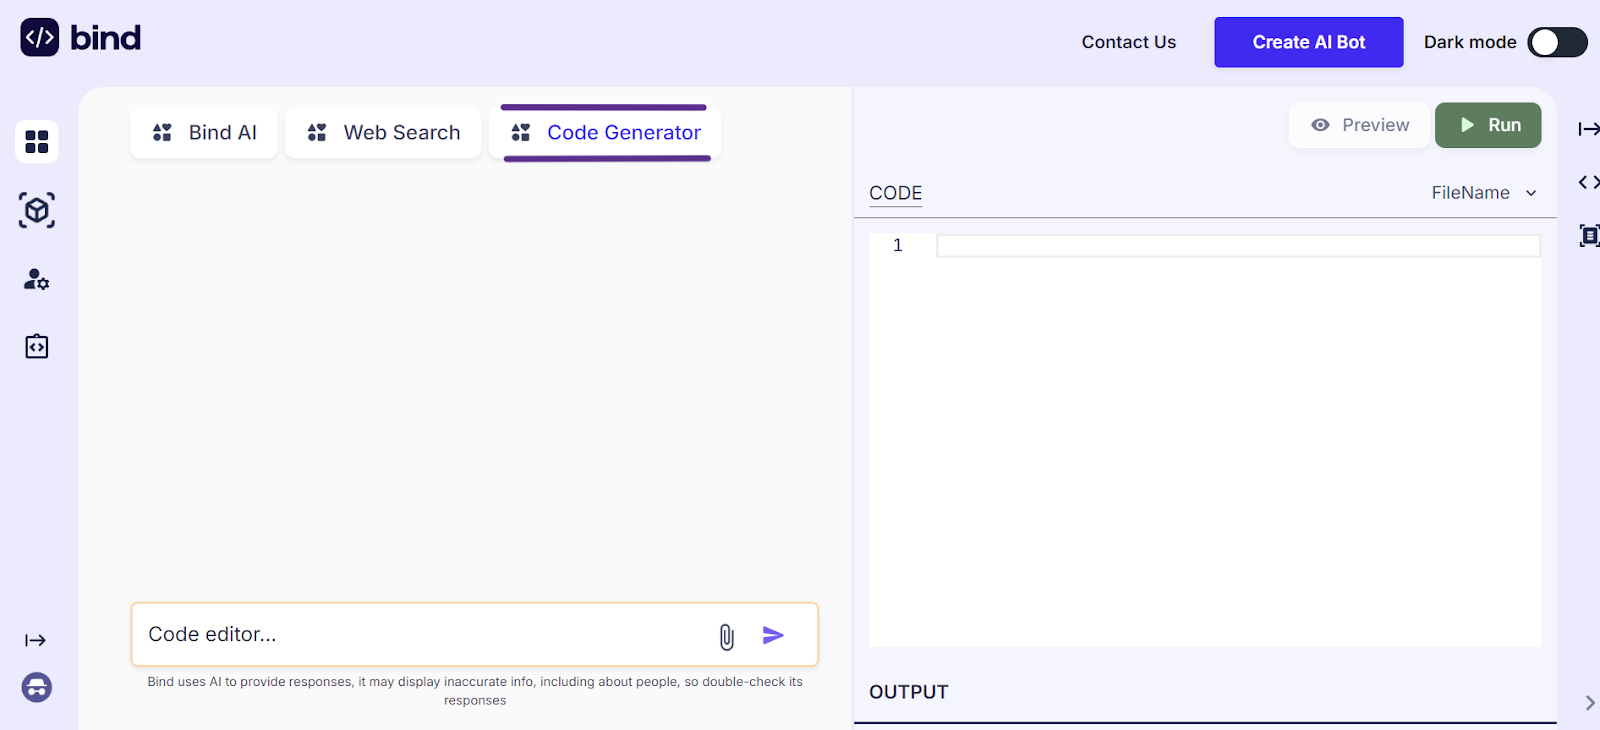
Code Generator is a dedicated experience in Bind AI that enables you to access AI models trained especially for coding purposes (e.g. Mistral Codestral). You can use it in the following ways:
- Generate code with natural language prompts such as “Write a Python script to extract names from email addresses”. This is useful when you want to write new code, or scripts or create web applications from scratch.
- Debug existing code by entering your code in the prompt and asking Bind AI to fix your code or suggest how you could improve it.
- Automatically write new code based on your existing code repository (e.g. GitHub). You can integrate your GitHub repo, paste your code, or upload files. Doing this creates vector embeddings for your codebase, and Bind automatically retrieves the most relevant pieces of your code and suggests new code that follows your style, specific functions, APIs, etc.
You can directly access Code Generator by following this link, or by clicking “Code Generator” in the top navigation (next to “Bind AI” and “Web Search” options).
Continue reading to learn more about the specific functionalities offered.
2. Selecting Models
Bind AI Copilot offers multiple AI models that are best suited for different types of coding tasks—from the Claude 3.5 Sonnet and GPT-4o to the Llama 3.1 405B. But as with anything, you can have many options, but only selecting the right one gives the best results. So, choosing the correct AI model for your tasks will prove best.
How to Select a Model
- Click on “Model Selector”:
- You will find this at the top within the chat area.
- By default, a model will be selected. You can click on it and select a model of your choice.
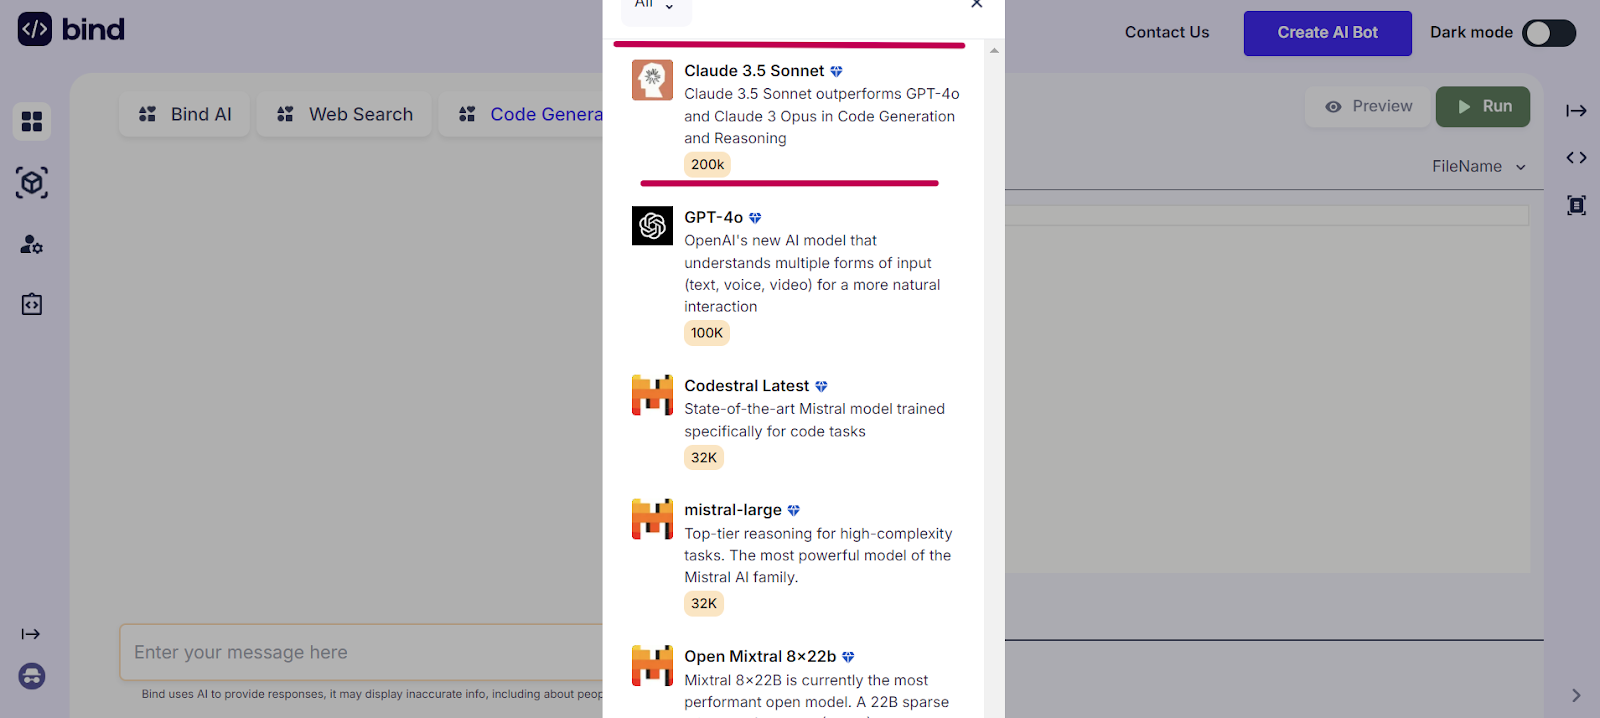
- Browse Available Models:
- Once selected, you’ll get to choose your desired model. Browse the available models to decide what works best for you.
- Below each model, you’ll find a brief description of its strengths, token limit, and ideal use cases.
- Advanced Models require a Premium Subscription or a 7-day Trial.
- Select the Desired Model:
- Click on the model you want to use. You can refer to this comparison to decide the best models for code generation.
- The selected model will now be active and used for all subsequent queries and code execution. You can switch to a different model if you wish to (based on your subscription status).
Pro Tip
If you’re working on a project that requires extensive code generation and reasoning, select the Claude 3.5 Sonnet model. For general-purpose coding tasks, especially in specific languages such as Swift and Fortran, the Mistral Codestral model performs best. You can read more information about each model on our blog.
3. GitHub Integration for Code Generation
Bind AI allows you to upload your own files, connect your GitHub code repository, or integrate your Google Drive to provide personalized context for code generation. When you upload files or connect your GitHub, Bind creates embeddings and securely stores your data so that it can be automatically retrieved when you ask questions about your data, or if you want to generate code based on your repo or previous code.
Please note that Bind automatically creates a “Custom bot” when you connect any integrations or data. This is a private bot and is only accessible to you. All the synced data and files are accessible via the “Custom Bot” which will appear in the top menu (next to Bind AI and Web Search options).
Integrations require a Premium subscription, you can start a free trial to test it out.
- Connecting GitHub Integration:
- You can access the GitHub integration option when you click on the “📎” icon or when you click on “Connect Data” in the left sidebar navigation.
- First, you need to authenticate your GitHub. Bind will redirect you to the GitHub authentication page where you can enter your credentials. You will need to create an access token and authorize which repos you want to provide access to.
- Go to GitHub Settings:
- Click on your profile picture in the upper right corner of any GitHub page.
- Select “Settings”.
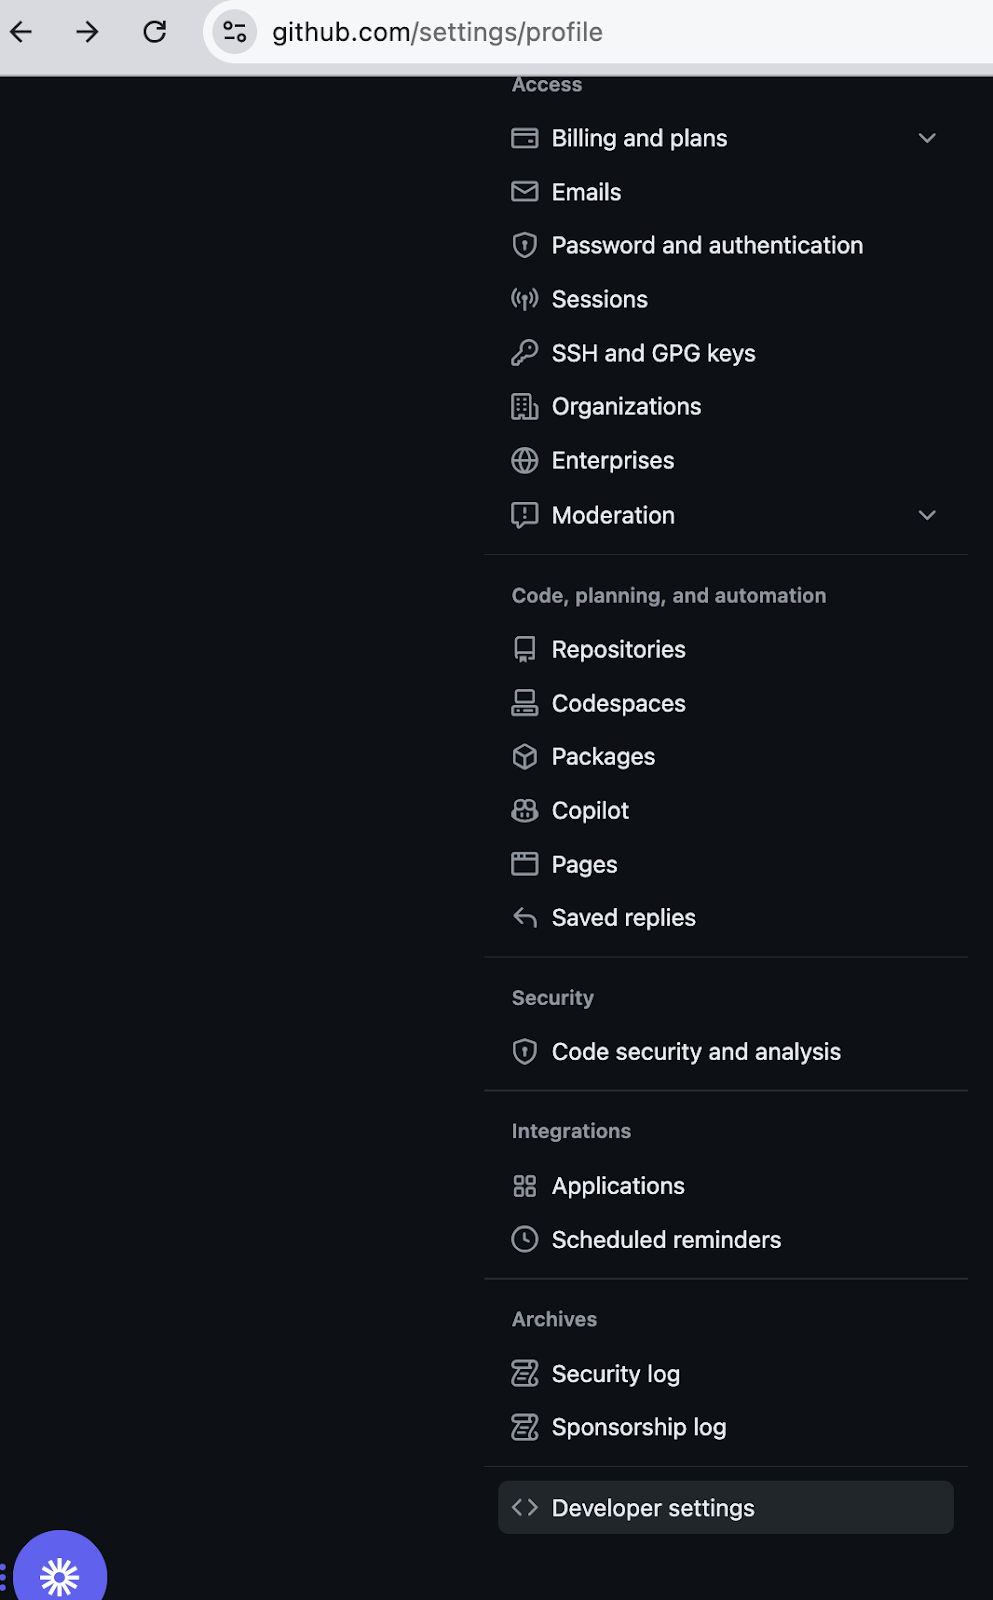
- Navigate to Developer Settings:
- In the left sidebar, click on “Developer settings”. You’ll find this option at the bottom of the left sidebar
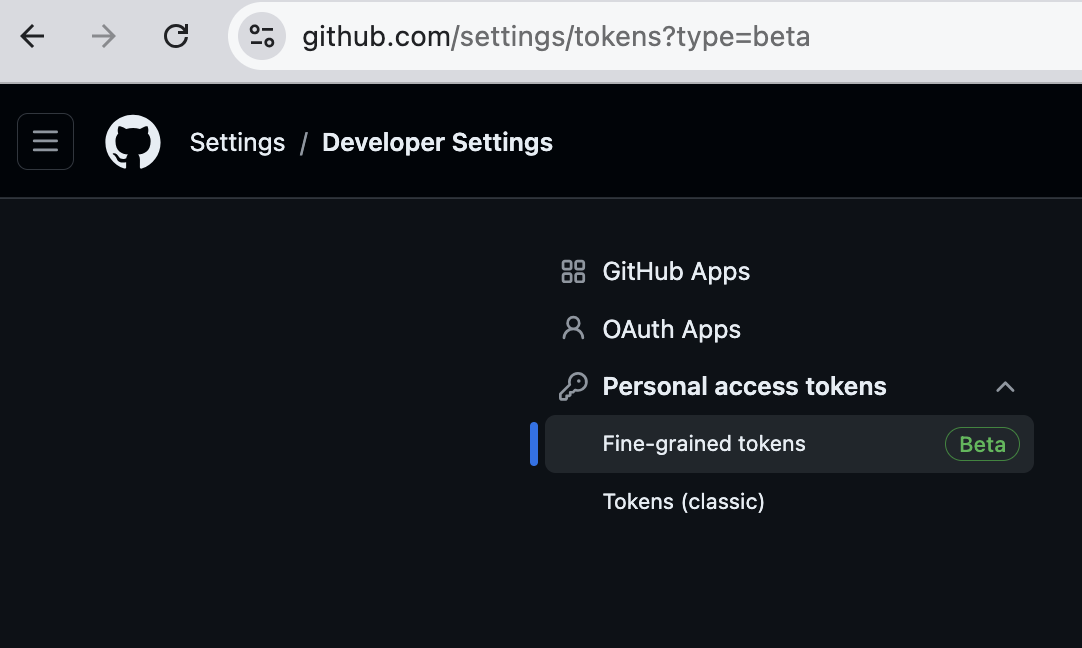
- Generate a New Token:
- Click on “Personal access tokens” in the left sidebar and select “Fine grained tokens”
- Click on “Generate new token”.
- Configure the Token:
- Give your token a descriptive name.
- Select the scopes or permissions you’d like to grant this token. For example, select “repo” for full control of private repositories.
- Set Expiration Period: Configure the expiration period. You can choose from 7 days, 30 days, 60 days, 90 days, or no expiration.
- Important: Repository access
- You need to select which repos you want to access via the token.
- The options are Public Repositories, All Repositories, and Only Select repositories.
- It depends on your personal preferences and which data you want to connect. You can always edit the token and update the repository access permissions. Make sure to re-sync any new files via the Bind AI integrations popup.
- Make sure to copy your new personal access token now. You won’t be able to see it again!
- Go to GitHub Settings:
- Once you are done authenticating your GitHub, you can now select which files you want to sync.
- Here is a step-by-step video tutorial for selecting and syncing files.
- Bind AI does not automatically sync all your files. The authentication process only allows you to view which files are available in your repository.
- You can double-click the folder, click on the specific files you want to sync and start the sync process.
- Once the files are synced, you will see those under the “Files” tab in the Integrations popup.
- You can access this anytime by clicking the file upload icon or connecting data in the left-side navigation.
- If you want to disconnect your GitHub account, you can click on the “Configuration” tab and disconnect. Disconnecting does not automatically delete your data. You can still use all the data you have synced. If you need Bind to delete your synced data, please submit a request to our support.
- Type of files synced
- You can currently only sync code files from your repos. If your repo contains PDFs, images, or any other types of files, the syncing will be disabled for those file types.
- Uploading Files for Context:
- You can upload documents to provide a deeper context by clicking the “📎” icon next to the right side of the message tab.
- You can upload any type of files: text, image, pdf.
- Please note that uploading images or heavy files will quickly use up your ingestion token limits. We recommend checking the file sizes and only uploading the data that you require.
- Connecting your Google Drive
- Syncing files from Google Drive is simpler than the GitHub integration.
- You can directly authenticate with your Google login, and select the files which you want to sync.
- Similar to the GitHub integration, you decide which files you want to sync.
- With this integration, you can currently only connect Google Docs and spreadsheets. PDF and Image files are not allowed to be synced.
4. Using Code Editor
The Bind AI Code Editor is where you write, edit, and run your code, it is available on the right side of the screen. Here’s how to use it:
- When you generate any code, it automatically opens the code in the editor, ready for you to start coding.
- You can also click the “<>” icon in the right-side navigation to open the code editor.
- You can also insert new code in the editor by clicking on the insert icon available in the code block (left side of the screen), this option is next to the copy icon.
How to Use
- Writing Code:
- Start typing your code directly into the editor.
- The editor supports syntax highlighting for various programming languages, making it easier to read and debug your code.
- Run Code:
- Running queries in Bind AI Copilot allows you to execute code directly in the editor. It is useful for running simple Python scripts or html files. Please note that Bind AI currently only supports executing Python scripts which do not require importing any modules.
- Once your code is ready, you can run it by clicking the “Run” button at the top of the editor.
- The output will appear in the console below the editor, showing results, errors, or logs.
- Auto-completion:
- Bind AI Copilot offers suggestions as you type, helping you write functions or elements. This feature does not use LLMs for code completion and is intended to save time while writing standard elements of code.
- As an example, to generate a simple Python function, start typing def my_function():. The editor will suggest common patterns you might use, such as return statements or loop structures.
Examples of Code Generation Prompts for Different Languages
You can copy and paste the below examples in Bind AI Code Generator to view how it works
Python
- Simple function: “Write a Python function to reverse a string.”
- Data structure: “Create a Python class to represent a linked list.”
- Algorithm: “Implement the bubble sort algorithm in Python.”
- Library usage: “Write a Python script to scrape data from a website using BeautifulSoup.”
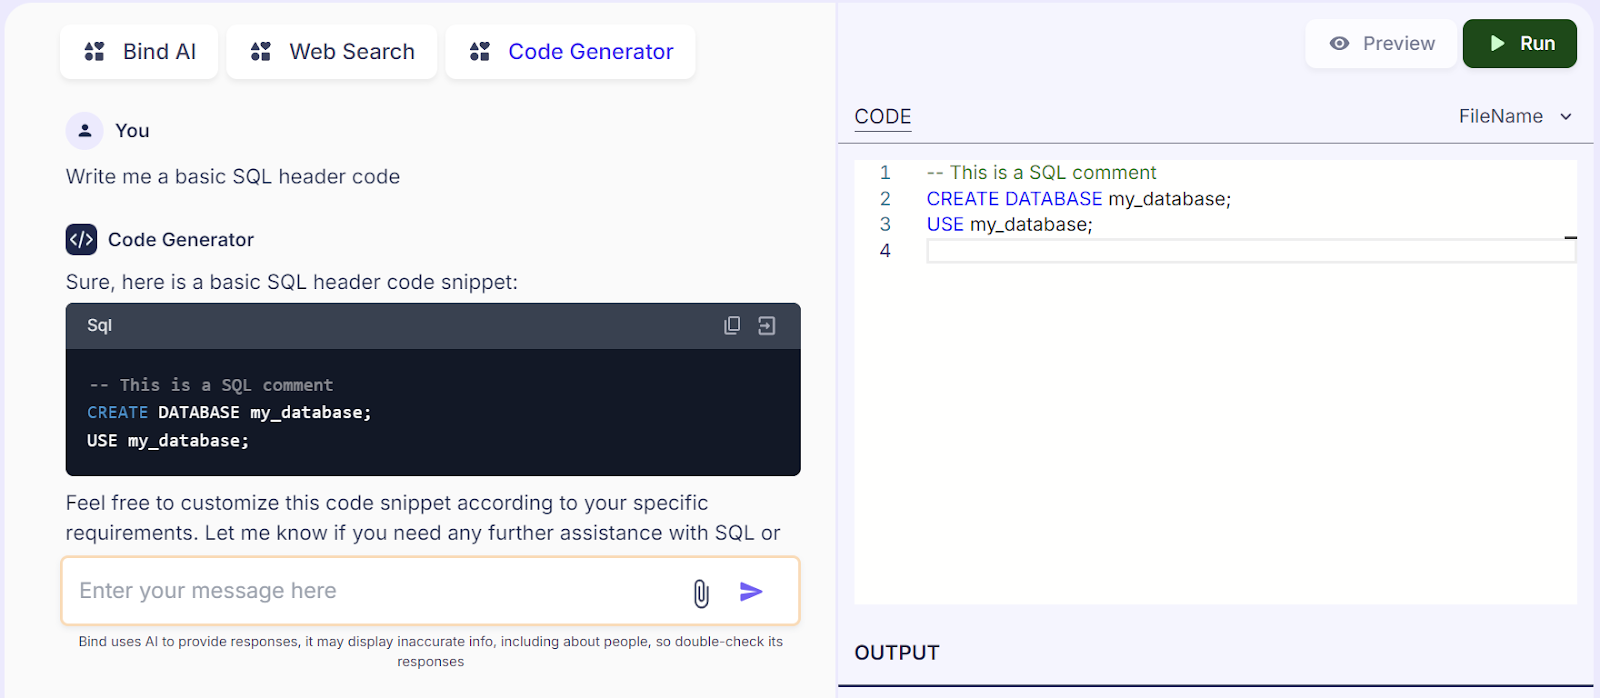
SQL
- Query: “Write a SQL query to find the average salary of employees in the ‘Sales’ department.”
- Join: “Create a SQL query to join two tables on a common column.”
- Aggregation: “Write a SQL query to group data by a specific column and calculate the sum.”
JavaScript
- DOM manipulation: “Write a JavaScript function to add a new element to the DOM.”
- Event handling: “Create a JavaScript event listener to handle a button click.”
- Asynchronous programming: “Write a JavaScript function to fetch data from an API using async/await.”
Other Languages (e.g., Java, C++)
- Basic program: “Write a Java program to calculate the factorial of a number.”
- Object-oriented programming: “Create a C++ class to represent a person with attributes like name, age, and address.”
5. Preview Web Pages
Overview
Previewing web pages within Bind AI Copilot lets you see how your HTML code will look in a live environment without requiring a deployment on your server. It generates a temporary URL where you can preview your page.
How to Preview a Web Page
- Generate HTML code
- You can generate code using desired prompts and edit as necessary in the code editor.
- Currently, Bind AI only supports HTML files with JavaScript included in them. If HTML and javascript are generated as separate blocks of code, only the html code will be supported for preview.
- You can use the following prompt pattern: “Create a single HTML file with javascript included in it…”
- Here is an example of a Prompt for generating a real estate marketplace:
- Run the code:
- To preview the page, you first need to click the “Run” button and generate a hosted temporary URL.
- Live Preview:
- After writing HTML, CSS, or JavaScript in the Code Editor, click on the “Preview” tab at the top of the editor.
- The web page will render in the preview pane, showing you exactly how it would appear in a browser.
- For any changes you make in the code editor, you will need to “Run” again and click Preview. Please note that executing the code again generates a new temporary URL, and the previously generated URLs are disabled.
- Interactive Elements:
- You can interact with the web page in the preview pane just like you would in a browser, testing links, forms, and other dynamic elements.
Example
Use the Bind AI Code Generator to see these in action:
- Button with Alert: “Create an HTML page with a button that shows an alert saying ‘Hello!’ when clicked. Style the button with a red background.”
- Paragraph Hide/Show: “Create an HTML page with a paragraph and a button to hide/show the paragraph. Style the button with green text.”
- Change Background Color: “Create an HTML page with a button that changes the background color of the page to yellow when clicked.”
Support
If you encounter any issues or have further questions, we are here to help. You can reach us at www.getbind.co/support.